Salam n selamat malam semua..
Untuk entry kali ini,
saya akan tunjukkan korang,
macam mana nak buat gambar kita nampak antik dan klasik ..hohoo..
setanding macam gambar dulu-dulu..hii~
Macam biasa,saya dah siapkan tutorial yang simple, ringkas and senang
untuk korang try..
Yang penting, korang try..
Senang jer ..
Macam biasa, tutorial ni, dibuat dalam Bi..
So, selamat mencuba n have fun..=)
BEFORE

AFTER

STEP 1:
Open your picture by using Adobe Photoshop
Insert the Dust and Scratches
Filter>Noise>Dust and Scratches
Set the
Radius= +2
Threshold= 0

STEP 2:
Duplicate the background layer.
Ctrl+J
STEP 3:
Insert Gaussian Blur into the duplicated background layer.
Filter>Blurr> Gaussian Blur
Set the radius to 4


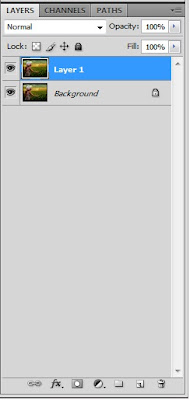
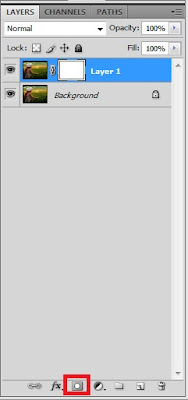
STEP 4:
Make a layer mask on duplicated background layer
*click the below button as shown to create layer mask
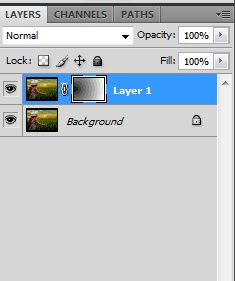
STEP 5:
Select the gradient tool.


STEP 6:
On the mask, create a Radial Gradient as shown in the screenshot below


STEP 8:
Resize the vintage background until it cover the duplicated background.
After that, go to Image>Adjustments>Desaturate

STEP 9:
Set the Blend Mode to Soft Light.

STEP 10:
Import the Grunge Background to the layer.
*Download it from ShutterStock
Resize the Grunge Background until it cover the duplicated background.
After that, go to Image>Adjustments>Desaturate

STEP 11:
Set the Blend Mode to Multiply.
Adjust the Brightness.
Image>Adjustments>Brightness/Contrast
Set
Brightness = 50
*u can adjust it depend on your picture.

STEP 12:
Create a Hue/Saturation Adjustment Layer
Set
Hue = +11
Saturation = +22
Lightness = 0
*u can adjust it depend on your picture.

Done..=)

macam mana??senang je kan??
so, x rugi kalau korang try..=)
Sebarang komen, kritikan amatlah dihargai
Admin:Kamarul Arnizam
No comments:
Post a Comment