Tutorial hari ini adalah
Vintage | How to Create Sunburnt Effect
Macam biasa,
tutorial in English.
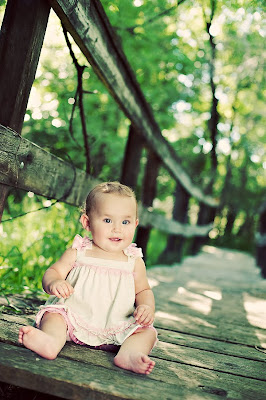
BEFORE

http://maggieholmes.typepad.com
AFTER

STEP 2
Insert Levels
Image>adjustment>Levels
Set the setting as shown in screenshot below

STEP 3
After that, insert Hue/saturation.
Image>adjustment> Hue/saturation.
Set the setting as shown in screenshot below


STEP 4
Create new fill layer
Layer> new fill layer>Solid
Set the setting as shown in screenshot below


STEP 5
Create Selective Color
Image>adjustment>Selective Color
Set the setting as shown in screenshot below


Done
Admin:Kamarul Arnizam


No comments:
Post a Comment